How To Stretch Toe Box Of Hiking Boots : No More Pinched Toes
Hey there, fellow hikers! If you’re like me, you know the importance of having comfortable hiking boots that fit just right. Recently, I found myself facing a common problem: my hiking boots had a tight toe box that was causing discomfort and making my outdoor adventures less enjoyable.
I needed a solution, and after some research and personal experience, I learned how to stretch toe box of hiking boots. It made a world of difference, and now I want to share my knowledge with you.

Let me give you a light answer without digging in to deep article.
You usually have listen that to stretch the toe box of your hiking boots, you can use methods like using a shoe stretcher, applying heat and moisture, wearing thick socks while stretching, and giving them time to adjust.
But in this blog, I want to share with you some other tips on how to stretch the toe box of your hiking boots so that you can avoid these problems and enjoy your hiking experience to the fullest.
How To Wear Hiking Boots With Shorts
How To Stretch Toe Box Of Hiking Boots?
Now, let’s dive into the step-by-step process of stretching the toe box of your hiking boots in more detail.
1.Shoe stretcher
When I discovered that my favorite pair of shoes had a tight and uncomfortable toe box, I was worried. I didn’t want to give up on them, as they were not only stylish but also had sentimental value. That’s when I came across a solution that worked wonders for me – using a shoe stretcher.
I purchased a shoe stretcher online after reading positive reviews and recommendations from fellow shoe enthusiasts. The stretcher came with various attachments and adjustments, allowing me to customize the stretching process to fit my shoes perfectly. It was easy to use, and I was excited to give it a try.

Method
Step 1: Preparation
I began by lightly spraying the inside of my shoes with a shoe stretching spray to soften the material and make the stretching process more effective. This step is optional but can help speed up the stretching process.
Step 2: Inserting the Shoe Stretcher
I carefully inserted the shoe stretcher into my shoes, making sure to position it properly in the toe box area. The stretcher had adjustable knobs that I turned to gradually expand the width and length of the toe box. It’s important to be gentle and not force the stretcher, as it may damage the shoe material.
Step 3: Adjusting the Stretcher
Once the stretcher was in place, I made adjustments using the knobs to apply the desired amount of stretching pressure. I turned the knobs slowly, allowing the stretcher to gradually expand the shoe’s toe box. This step requires patience, as rushing the process may lead to unintended consequences.
Step 4: Giving it Time
After making the necessary adjustments, I left the shoe stretcher in my shoes for a period of 24 to 48 hours. This allowed the shoes to slowly adapt to the new shape and size of the toe box. It’s crucial to give the shoes enough time to adjust and avoid rushing the process.
Step 5: Testing the Fit
After the recommended stretching time had passed, I eagerly tried on my shoes. To my delight, I noticed a noticeable improvement in the comfort level. The toe box had expanded, providing the much-needed space for my toes to move freely. It felt like a custom fit!
Using a shoe stretcher designed for stretching shoes, including the toe box area, was a game-changer for me. I was able to salvage my favorite pair of shoes and transform them into a comfortable footwear option once again. Remember to be patient and follow the instructions provided with your shoe stretcher for the best results. With this method, you can revitalize your shoes and enjoy a perfect fit without compromising on style or comfort.
2.Freezing Method
I want to share with you another method that I also tried to stretch my shoes, and it worked like a charm! If you’re looking for a surprising and effective way to stretch your shoes, give the freezing method a try. Let me walk you through the process.
Method
Step 1: Fill a plastic bag with water.
Start by taking a plastic bag, such as a zip lock bag, and fill it with water. Make sure to leave some room in the bag for the water to expand as it freezes.
Step 2: Place the water-filled bag inside the toe box of your shoes.
Next, carefully place the bag filled with water inside the toe box of your shoes. Ensure that the water-filled bag is evenly distributed and covers the areas that feel tight or uncomfortable.
Step 3: Put the shoes in the freezer overnight.
Now comes the easy part. Put your shoes, along with the water-filled bag, in the freezer. Allow them to stay in the freezer overnight or for at least 8 hours. This is where the magic happens.
Step 4: Let the water freeze and expand.
As the water inside the bag freezes, it expands, exerting gentle pressure on the shoe material. This expansion helps to stretch the shoes, particularly in the toe box area, providing more room for your toes.
Step 5: Take the shoes out of the freezer and let them thaw.
After the freezing time is up, remove the shoes from the freezer. Take out the water-filled bag and allow the shoes to thaw at room temperature. It’s essential to let them thaw completely before trying them on.
Step 6: Try on your newly stretched shoes.
Once the shoes have thawed, try them on and experience the difference! You’ll likely notice that the toe box area feels more spacious, providing greater comfort for your feet.
Remember, it’s important to gradually break in your newly stretched shoes by wearing them for short periods initially. This allows your feet to adjust to the new fit and prevents any discomfort.
Say goodbye to uncomfortable shoe moments and hello to happy feet on your next adventure! My shoes felt more comfortable, and the tightness in the toe box area was significantly reduced. It’s an easy, cost-effective, and unconventional way to stretch your shoes.
3.Wet Newspaper Method
If you’re looking for a simple, DIY method to stretch the toe box of your shoes, the wet newspaper technique is worth a try. I tried the wet newspaper technique with my favorite pair of shoes, and I was thrilled with the results.
The shoes had always felt a bit tight in the toe box, causing discomfort during extended wear. However, after using this method, I noticed a significant improvement in the fit. The toe box had stretched just enough to accommodate my toes comfortably without compromising the overall structure of the shoes.

When I first discovered the wet newspaper technique for stretching my shoes, I was skeptical. I had a pair of shoes with a tight toe box, and I was worried about finding a solution without damaging the material. However, after trying this method, I was pleasantly surprised by the results. Allow me to share my experience with you.
Method
Gather your materials:
To begin, you’ll need a few sheets of newspaper and a spray bottle filled with water.
Dampen the newspaper:
Take the newspaper sheets and dampen them with water using the spray bottle. You want the newspaper to be moist but not soaking wet.
Stuff the toe box:
Next, crumple the damp newspaper and start stuffing it into the toe box of your shoes. Make sure you fill the entire space, including the areas where your toes would be.
Let it dry:
Once the toe box is filled with damp newspaper, allow it to dry completely. It’s best to leave the shoes in a well-ventilated area, away from direct heat sources that could damage the material.
Remove the paper:
After the shoes have dried completely, carefully remove the newspaper from the toe box. You’ll notice that the moisture from the newspaper has caused the shoe material to expand slightly, providing more room for your toes.
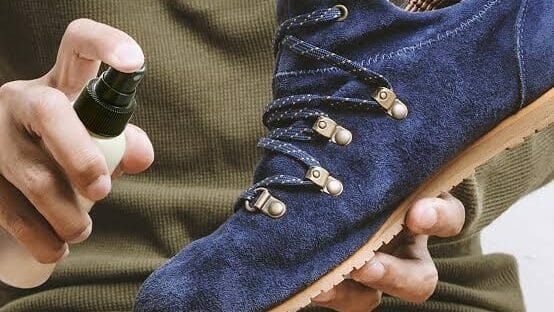
4.Alcohol and Water Spray
The alcohol and water spray method proved to be another simple yet effective way to stretch tight shoes. By mixing equal parts of rubbing alcohol and water, spraying the mixture into the tight areas, and wearing the shoes until dry, I was able to achieve a more comfortable fit. Give it a try and experience the joy of wearing perfectly fitting shoes on your next adventure.
Let me share my personal experience with you.
Method
Prepare the mixture:
To begin, I mixed equal parts of rubbing alcohol and water in a spray bottle. This combination helps to soften the shoe material, making it more pliable for stretching.
Target the tight areas:
Next, I identified the specific tight areas of my shoes, usually the toe box or any other areas that felt snug. I focused on those spots to provide relief and create more room for my feet.
Spray and distribute:
With the spray bottle in hand, I generously sprayed the mixture inside the tight areas of the shoes. I made sure to cover the material thoroughly to ensure maximum effectiveness.
Wear the shoes until dry:
After applying the alcohol and water spray, I put on the shoes and wore them until they dried completely. The drying process allowed the material to stretch gradually, adapting to the shape of my feet.
Remember, every shoe is unique, and results may vary depending on the material and tightness. It’s important to be patient and allow sufficient time for the shoes to dry and stretch. If needed, you can repeat the process multiple times to achieve the desired fit.
5.Using a Stretching Device
Using a stretching device can be a game-changer when it comes to stretching the toe box of your shoes. A stretching device is a handy tool specifically designed to stretch shoe areas like the toe box. It typically consists of a mechanical mechanism that allows you to gradually expand the width of your shoes. Using a stretching device ensures a controlled and even stretch, reducing the risk of damaging your shoes.

Method
To use a stretching device, follow these steps:
Adjust the device:
Start by adjusting the stretching device according to the width and size of your shoes. Most devices have adjustable knobs or screws that allow you to customize the stretch.
Prepare your shoes:
Before using the stretching device, make sure your shoes are clean and dry. This will prevent any potential damage or discoloration during the stretching process.
Insert the device:
Gently insert the stretching device into the toe box area of your shoes. Ensure that the device is positioned properly and securely.
Gradually stretch:
Begin by turning the knobs or screws on the stretching device to apply tension. Start with a minimal stretch and gradually increase it over time. It’s important not to rush the process to avoid overstressing or damaging the shoe material.
Allow time for stretching:
Leave the stretching device in place for several hours or overnight, depending on the level of stretch you desire. This gives the shoe material ample time to adjust and expand.
Test the fit:
After removing the stretching device, try on your shoes to check the fit. You should feel a noticeable difference in the toe box area, with increased room for your toes to move comfortably.
Using a stretching device is a reliable and efficient way to stretch the toe box of your shoes. It provides a controlled stretch, ensuring that the shoe material expands evenly without causing any harm. Give it a try, and you’ll be amazed at the difference a stretching device can make in enhancing the comfort of your shoes during your next adventure!
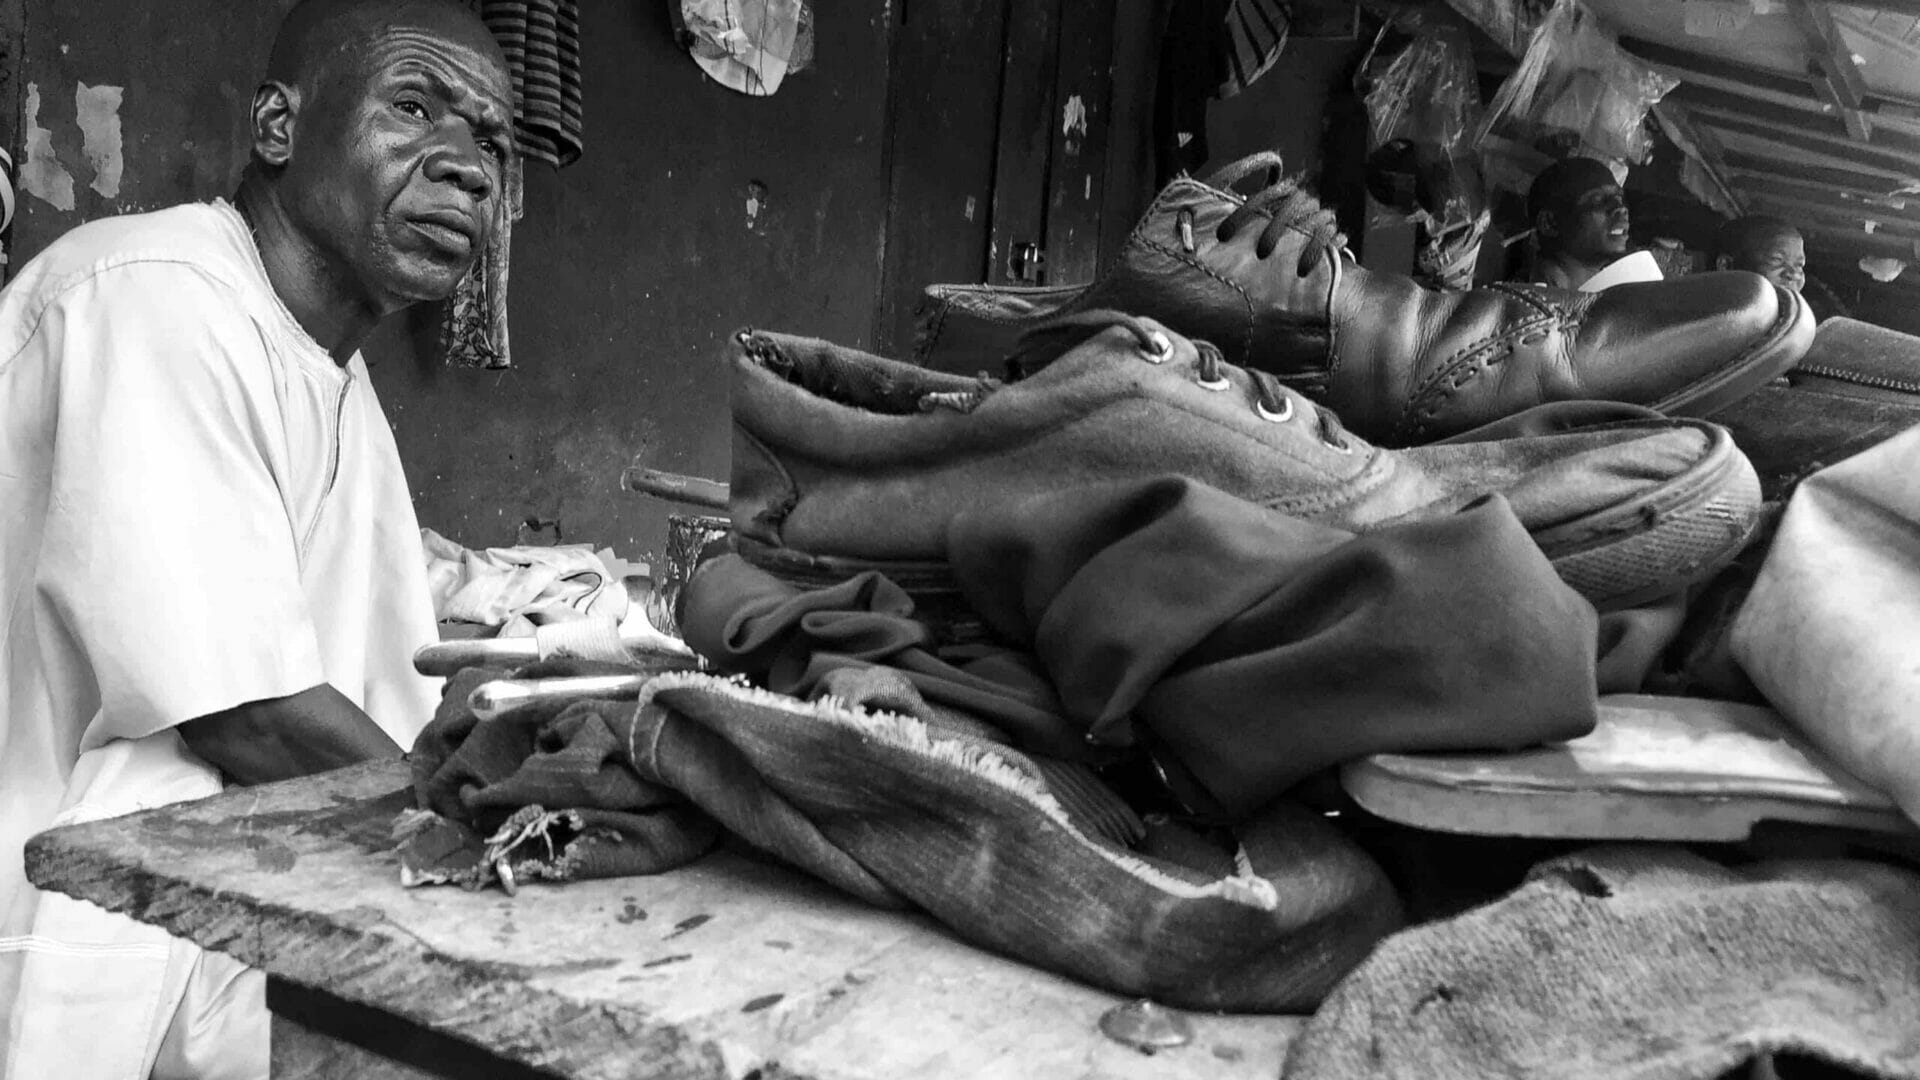
6.Seek For Professional
You know, when I was struggling to stretch my shoes on my own, I decided to seek professional help. I took my beloved pair of shoes to a skilled cobbler, who had the expertise and specialized equipment to stretch them properly. Let me tell you, it was the best decision I made!
When I arrived at the cobbler’s shop, I explained my concerns about the tightness in the toe box of my shoes. The cobbler carefully examined the shoes to determine the best approach for stretching them without causing any damage. I could sense their experience and knowledge in dealing with various types of footwear.
The cobbler used professional stretching techniques and equipment to gradually stretch the shoes in a controlled manner. They knew exactly how much pressure to apply and for how long, ensuring that the shoes would be comfortably stretched without compromising their structural integrity.
While I waited, I chatted with the cobbler and gained valuable insights into the art of shoe stretching. They shared stories of other customers who had similar concerns and how they successfully resolved them. It was fascinating to learn about the different methods and tools they used, knowing that my shoes were in capable hands.
After the stretching process was complete, the cobbler handed me my shoes with a smile. I eagerly put them on, and to my delight, I could feel the difference immediately. The once tight and constricting toe box now had the perfect amount of room for my toes to move comfortably. It was like wearing a brand-new pair of shoes!
I walked around the cobbler’s shop, testing the fit and marveling at the transformation. My worries about uncomfortable shoes were completely alleviated. The professional stretching had truly made a significant difference in the comfort and fit of my shoes.
So, if you’re hesitant or unsure about stretching your shoes yourself, I highly recommend taking them to a professional cobbler. Their expertise, specialized equipment, and experience will ensure that your shoes are stretched properly and safely. Trust me, you won’t be disappointed with the results!
By seeking professional stretching services, you can have peace of mind knowing that your shoes are in the hands of a skilled expert who will give them the perfect fit you desire. Don’t hesitate to visit a cobbler near you and experience the wonders of professional shoe stretching firsthand. Your feet will thank you for it!
7.Hammer and Towel Method
The hammer and towel method might seem unconventional, but it proved to be a simple and effective way to stretch my shoes’ tight areas. The controlled tapping action, combined with the moisture from the damp towel, allowed the material to expand gradually without causing any major damage.
Remember to exercise caution, be patient, and test the fit frequently to ensure the desired comfort level.
Method
Give this method a try, and you might find it to be a practical solution for stretching your shoes as well.
Dampen a towel:
First, I dampened a clean towel with water. It shouldn’t be dripping wet, just slightly damp. This moisture helps to soften the shoe material and make it more pliable for stretching.
Wrap the towel around the tight area:
Next, I carefully wrapped the damp towel around the tight area of my shoes. In my case, it was the toe box that needed stretching. Ensure that the towel covers the entire tight area that you want to stretch.
Tap gently with a hammer:
With the towel in place, I picked up a hammer. It’s important to use a hammer with a smooth and flat surface, such as a rubber mallet or a household hammer wrapped in a soft cloth to prevent any damage to the shoe material.
Gently tap the shoe:
Using the hammer, I started gently tapping the towel-covered area of the shoe. The idea is not to use excessive force but to apply controlled pressure. I tapped along the tightest points, gradually moving from one spot to another. The gentle tapping helps to stretch the material without causing any significant damage.
Repeat as needed:
I repeated the tapping process several times, checking the shoe’s fit intermittently. This method allows for gradual stretching, so it’s essential to be patient and persistent. Remember, it’s better to stretch a little at a time and check the fit rather than overstretching and potentially ruining the shoe.
Test the fit:
Once I felt I had stretched the shoe sufficiently, I removed the towel and tried the shoes on. I was pleasantly surprised to find that the tightness had significantly reduced, and my feet felt much more comfortable.
8.Double Socks Methods
Remember, the effectiveness of this method may vary depending on the shoe material and tightness. It’s always recommended to start with a shorter duration and gradually increase the time spent wearing the double socks if needed. Also, be patient, as it may take some time for the shoes to stretch to the desired level of comfort.

I had heard positive things about this technique, so I was hopeful that it would provide the extra room I needed in the toe box area. Let me share my experience and guide you through this simple yet effective method.
Method
Prepare two pairs of thick socks:
I gathered two pairs of thick socks to create extra padding and pressure inside the shoes. The thickness of the socks is crucial in exerting pressure on the material.
Put on the first pair of socks:
I wore the first pair of thick socks, making sure they were properly pulled up and aligned with the toe area. This step creates a base layer for added thickness and cushioning.
Wear the shoes:
After putting on the first pair of socks, I carefully slid my feet into the shoes. It’s essential to ensure that the socks are evenly distributed inside the shoe for even stretching.
Put on the second pair of socks:
With the first pair of socks already on, I added the second pair of thick socks over them. This second layer increases the pressure on the shoe material, facilitating gradual stretching.
Test the fit:
Once I had both pairs of socks on and the shoes securely fastened, I stood up and walked around to assess the initial level of comfort. The socks provide a buffer between my feet and the tight areas, minimizing any discomfort.
Repeat the process as needed:
I continued wearing the double socks and shoes around the house for short periods each day. This method works gradually, allowing the material to stretch without causing any sudden or excessive strain.
Monitor the progress:
Over time, I noticed that the shoes started to feel less tight and more comfortable. It’s crucial to pay attention to how your feet feel during the process and adjust the duration and frequency of wearing the double socks accordingly.
The double-sock method worked wonders for me! By creating extra pressure on the shoe material, it allowed my shoes to stretch gradually and accommodate my feet better. I was pleasantly surprised by the results, as I could feel a significant improvement in the fit and comfort of my shoes.
9.Walk Indoor
One effective and practical method to stretch your shoes is by wearing them indoors for short periods of time. During this process, it’s important to pay attention to any signs of discomfort. If you feel excessive pain or rubbing, remove the shoes immediately to prevent blisters or further discomfort.

It’s essential to listen to your feet and not push yourself too much. Take breaks between wearing to give your feet and shoes a chance to rest and recover.
Method
Put on your shoes and wear them around your house for short intervals. Start with 10-15 minutes and gradually increase the duration over time. While wearing the shoes, walk around, flex your feet, and wiggle your toes to allow the material to stretch naturally. By wearing your shoes indoors, you give the material a chance to adjust and conform to the shape of your feet without the added pressure of outdoor activities.
Benefits of Stretching the Toe Box of Hiking Boots
There are several benefits to stretching the toe box of your hiking boots, which helps improve your hiking experience.
1. Increased Comfort
The primary benefit of stretching the toe box of your hiking boots is to increase comfort. By relieving the pressure on your toes, you can avoid blisters, corns, and other foot problems that can make your hike uncomfortable.
2. Better Fit
Stretching the toe box helps achieve a better fit for your hiking boots, so they don’t rub against your toes or cause any discomfort.
3. Improved Balance
A better-fit help you maintain balance on uneven terrain, as your feet will be stable in your boots.
4. Fewer Injuries
A comfortable fit also helps prevent injuries, such as sprains or strains, which can be caused by instability or discomfort in your hiking boots.
5. Longevity of Boots
Stretching your boots prolong their lifespan by avoiding premature wear and tear from foot movement within the boot.
6. Improved Performance
A comfortable and stable boot helps you perform better on the trails by reducing fatigue and enabling you to walk long distances.
7. Improved Blood Circulation
Stretching the toe box also helps improve blood circulation, which reduces foot pain and swelling.
8. Enhanced Breathability
Stretching the toe box also improve breathability, reducing moisture buildup and keeping your feet dry.
9. Wider Selection of Boots
By stretching your boots, you can also open up a wider selection of hiking boots to choose from, as you won’t be limited by narrow-toe boxes.
10. Personalized Fit
Finally, by stretching your boots, you can create a personalized fit that is unique to your foot shape and size, which is more comfortable than a generic fit.
How to Get Mildew Smell Out of Hiking Boots
Precautions
When it comes to stretching the toe box of your hiking boots, there are a few precautions and tips you should keep in mind to ensure the process is as safe and effective as possible. Here are some tips to consider:
Use a stretching spray
A stretching spray helps to soften the material and make it easier to stretch. Be sure to follow the instructions on the bottle and apply the spray sparingly to avoid damage to the boots.
Don’t overstretch
When stretching the toe box of your hiking boots, it’s important not to overstretch the material. Overstretching cause the material to weaken or even tear, reduce the lifespan of your boots and make them uncomfortable to wear.
To avoid overstretching, it’s best to stretch your boots gradually and in small increments. Start with a small stretch, then wear the boots around the house to see how they feel. If they still feel too tight, stretch them a bit more and try them on again.
Repeat this process until you achieve the desired fit. It’s also important to keep in mind that different materials may have different levels of stretch ability. Leather, for example, stretches more than synthetic materials.
Be sure to research the specific material of your boots and follow the manufacturer’s guidelines for stretching.
How Often Should You Replace Your Hiking Boots?
Avoid excessive moisture
When stretching the toe box of your hiking boots, it’s important to avoid excessive moisture, as it can damage and discoloration the boots.
Excessive moisture also leads to bacterial growth, which can cause odors and reduce the lifespan of your boots.
To avoid excessive moisture, it’s best to use water or a stretching solution sparingly. Dampen a cloth or sponge with a small amount of water or solution and apply it to the toe box of your boots.
Don’t soak the boots or use too much solution, as this can cause damage to the material. After you’ve applied the water or solution, allow the boots to dry completely before wearing them.
Avoid exposing the boots to direct sunlight or heat while they dry, as this cause discoloration and damage to the material.
It’s also important to keep in mind that some materials may be more sensitive to moisture than others. Leather, for example, can be damaged by excessive moisture, while synthetic materials may be more resistant.
Be sure to research the specific material of your boots and follow the manufacturer’s guidelines for stretching.
Use heat cautiously
When stretching the toe box of your hiking boots, using heat can be a useful technique, but it’s important to use it cautiously to avoid damaging the boots.
One method for using heat is to apply heat directly to the area that needs stretching using a hairdryer or a heat gun. Hold the heat source about six inches away from the boot and move it around to distribute the heat evenly.
After a few minutes, test the boots to see if they have softened enough to be stretched. If not, continue to apply heat, checking the boots frequently.
It’s important to use heat cautiously, as too much heat can cause the material of the boots to warp or become discolored.
Wear the boots around the house
Wear the boots around the house for a few hours after stretching to help break them in and ensure a comfortable fit.
Consider taking them to a professional
If you’re not confident in your ability to stretch the boots yourself, consider taking them to a professional who can help you achieve the desired fit safely and effectively.
By following these precautions and tips, you can safely and effectively stretch the toe box of your hiking boots and achieve a more comfortable and customized fit.
11 Best Cheap Waterproof Hiking Boots
Is It Safe To Stretch The Toe Box Of Hiking Boots On My Own Or Should I Take Them To A Professional?
In my personal experience, I initially opted to stretch my hiking boots’ toe box on my own, taking precautionary measures and using gentle stretching techniques. Thankfully, the results were satisfactory, and I experienced enhanced comfort on my hikes.
However, it’s crucial to assess your boots’ material, complexity, and personal comfort level before deciding whether to attempt the stretching process yourself or seek the expertise of a professional cobbler. Remember to proceed with caution, prioritize the longevity of your boots, and consult a professional if you’re uncertain about the process.
Are There Any Risks Or Side Effects Associated With Stretching The Toe Box Of Hiking Boots?
When it comes to stretching the toe box of hiking boots, it’s essential to be aware of a few potential risks and side effects. While these are not common, it’s important to take precautions and choose the right methods to minimize any potential issues.
Material Damage:
Excessive force or improper stretching techniques can lead to material damage. Overstretching the shoe can cause tears, cracks, or weakening of the fabric, which can affect the durability and integrity of your hiking boots.
Uneven Stretching:
If you apply stretching methods unevenly or only focus on specific areas of the toe box, you may end up with an uneven stretch. This can result in an uncomfortable fit or put unnecessary pressure on certain parts of your feet, leading to discomfort or blisters during hiking.
Loss of Support:
Stretching the toe box too much might compromise the structural support of the boots. If the stretching process alters the original design and fit of the boots significantly, it could potentially affect their ability to provide proper foot and ankle support during hikes.

Are Hiking Pants Warm : Answer Of All Queries

Can You Wear Hiking Socks For Skiing : Surprising Truth

Are Track Pants Good For Hiking : Mystery Unfold
About Author
SYED ARSLAN
As a passionate hiker and camper, I explore the great outdoors and share my experiences on this blog. From trail guides to gear reviews, I provide valuable insights to fellow nature enthusiasts.