Hiking With Tripod : How To Carry Tripod While Hiking? 9 Creative Ways
As an avid hiker and photography enthusiast, I understand the importance of finding practical ways to carry a tripod while hiking. It should be comfortable, easily accessible, and provide adequate protection.
I also know that how important it is to bring a tripod on my adventures. Not only does it help me capture stunning shots, but it also allows me to set up my camera in difficult terrain.
In this article, I’ll share my first-hand experiences and provide detailed explanations of 10 practical methods, how to carry a tripod while hiking adventures, so that you can also enjoy your hike without worrying about your gear.

How To Carry A Dslr Camera While Hiking : Protection Of Dslr
How To Carry Tripod While Hiking?
Here are a few tips on how to carry your tripod while hiking:
1.Choose the right tripod
Carrying a heavy tripod for hours quickly become a burden and hinder your hiking experience. That’s why opting for a compact and lightweight model is crucial for hikers who value mobility and convenience.

Compact tripods are designed to be collapsible, allowing them to fold down to a smaller size for easy transportation and storage. This feature is especially advantageous when you’re hiking, as it ensures that the tripod takes up minimal space in your backpack. Look for tripods that offer a compact folded length and a slim profile without compromising on stability and functionality.
Weight is another vital factor to consider. Lightweight tripods are made from materials such as carbon fiber or aluminum alloy, which offer a balance between durability and weight reduction. Carbon fiber tripods are particularly popular among hikers due to their exceptional strength-to-weight ratio. These materials help keep the tripod’s overall weight to a minimum, making it easier to carry during long hikes.
Many manufacturers offer specialized travel tripods that cater specifically to the needs of hikers and outdoor photographers. These tripods are designed with lightweight materials and compact dimensions, making them ideal for backpacking and long hikes. They often come with additional features like removable ball heads, quick-release plates, and ergonomic leg locks, further enhancing their convenience and ease of use.
2.Use a Backpack
Attaching your tripod to your backpack is a practical and popular method that I highly recommend. Many backpacks come equipped with external attachment points or dedicated tripod straps, allowing you to secure the tripod to the side or bottom of your pack.
This ensures hands-free movement and even weight distribution, resulting in a comfortable and balanced hike. Personally, I find this method convenient as it keeps my tripod easily accessible while leaving my hands free for other activities.

The secure attachment provides stability and minimizes any swinging or shifting of the tripod during challenging terrain or fast-paced hiking. So if you have a smaller tripod that isn’t too heavy, the simplest way to carry it is by attaching it to your backpack.
Why Do You Need A Knife For Hiking
This can be done by either looping the tripod’s legs through the straps of your backpack or by using a carabiner or other clip to attach the tripod to one of the loops on your pack.
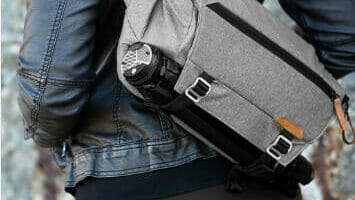
3.Shoulder Strap
Carrying my tripod using a shoulder strap has been a reliable and efficient solution in my hiking experiences. By slinging the tripod over my shoulder, the weight is evenly distributed, reducing strain on my body.

This method allows for quick and easy access to the tripod whenever I need it. Whether I’m capturing a breathtaking vista or adjusting camera settings on the go, having my tripod readily available on my shoulder ensures that I don’t miss any photo opportunities.
The shoulder strap leaves my hands free to handle other gear or assist with navigating tricky trails, enhancing my overall hiking experience.
4.Tripod Bag
Using a dedicated tripod bag or case provides excellent protection and convenience during transportation. These specialized bags are designed to accommodate tripods of various sizes, providing a snug and secure fit.
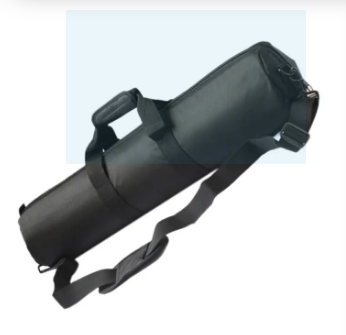
After hiking for long time, I find it essential to invest in a high-quality tripod bag to safeguard my equipment from potential damage during hikes. The bag can be carried over my shoulder or attached to my backpack, offering flexibility in how I choose to transport my tripod.
This method ensures that my tripod remains safe and easily accessible while leaving my hands and arms free for a comfortable and enjoyable hike.
5.Waist Belt Clip
For stability and hands-free hiking, I often rely on a waist belt clip to secure my tripod. This accessory allows me to attach the tripod to the waist belt of my backpack, ensuring it stays securely in place as I navigate various terrains.
By distributing the weight to my hips, this method reduces strain on my shoulders and back, enhancing overall comfort during long hikes. The tripod remains steady and doesn’t swing or bounce, allowing me to move freely and maintain my balance on uneven trails.
This practical solution keeps my hands free for photography or other activities, making it a convenient and efficient way to carry my tripod.
6.Tripod Clamp
Attaching a clamp to my backpack or belt has also proven to be an effective method for securely holding my tripod in place. This practical solution provides stability and quick access to the tripod when needed.
How To Make A Hiking Date Romantic & Memorable : 7 Easy Ways
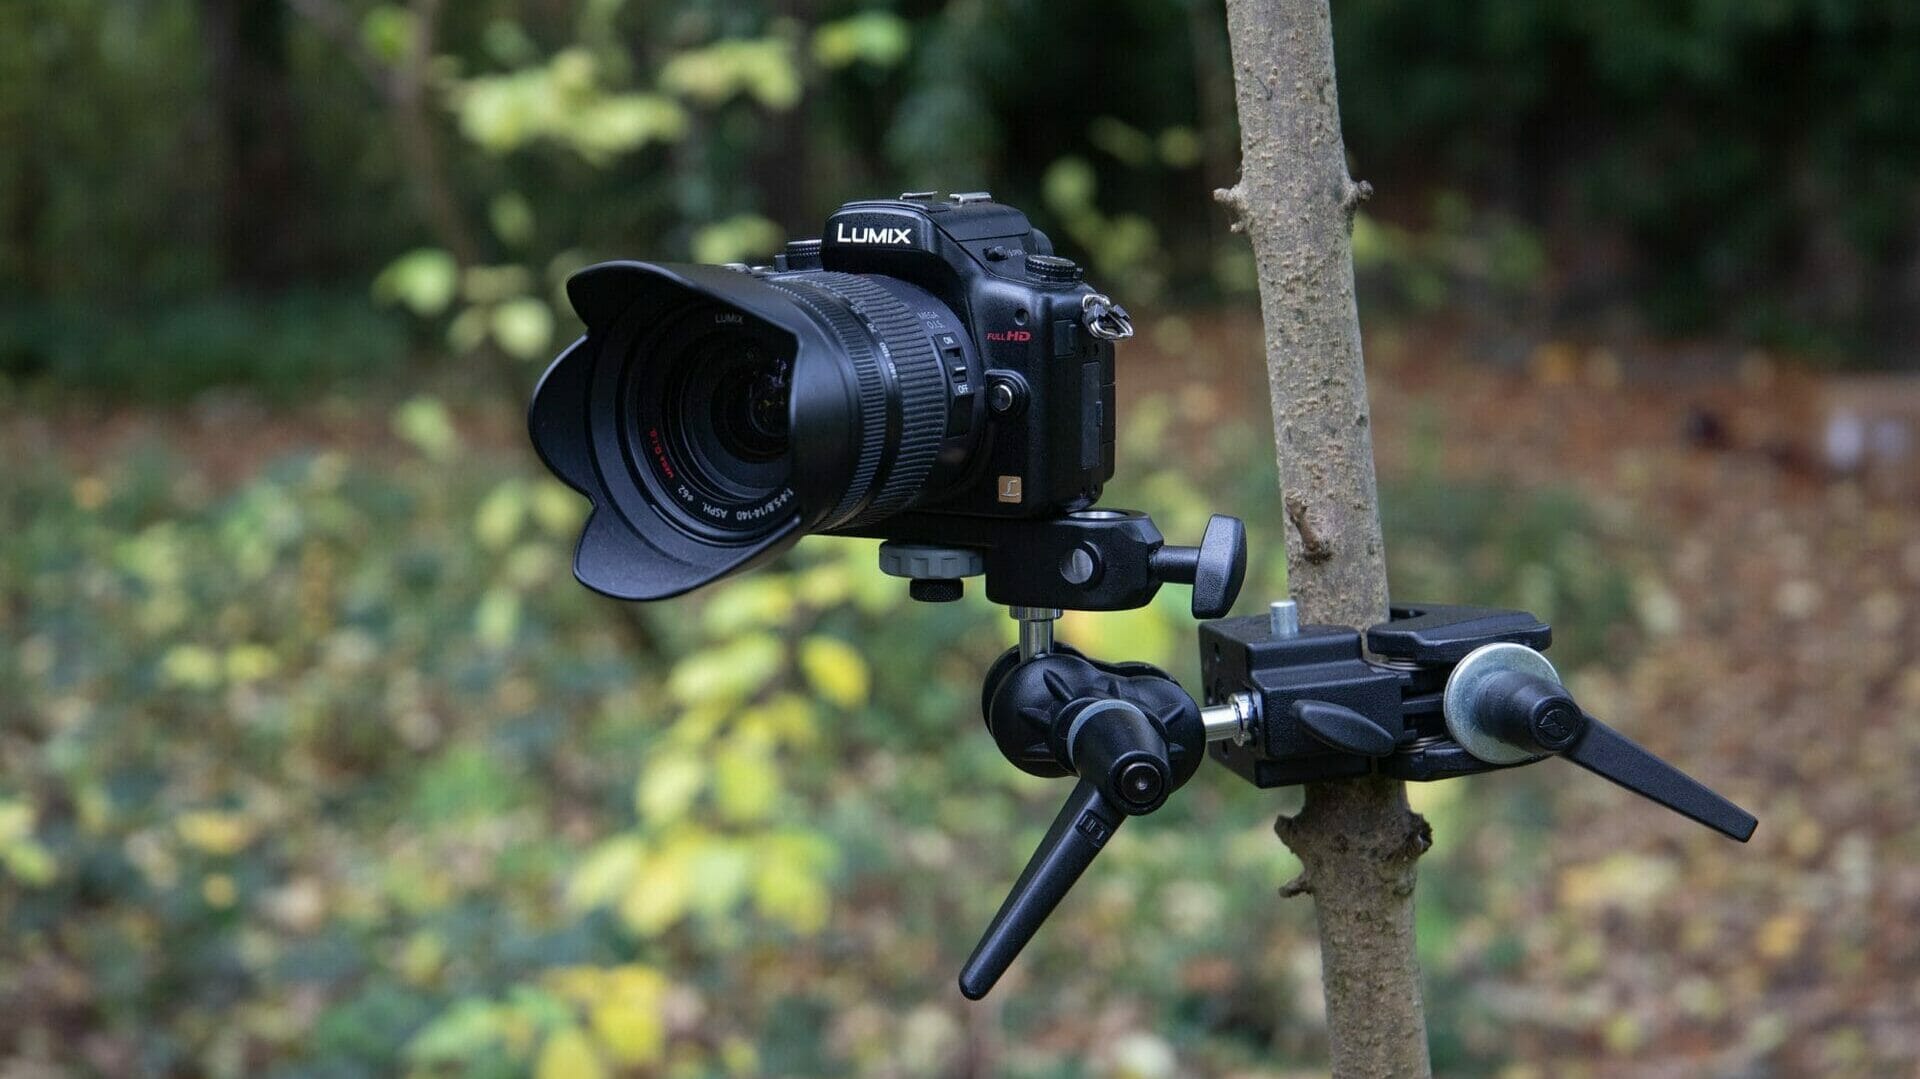
By clamping the tripod to a fixed point, such as a strap or loop on my backpack, I can ensure that it remains secure and doesn’t sway or shift while hiking. This allows me to maintain balance and move confidently on challenging terrain, knowing that my tripod is safely attached and readily available for use.
7.Fanny Pack
Carrying my tripod in a fanny pack with adjustable straps has also proven to be a practical option for shorter hikes or when I require frequent access to my equipment. This compact and lightweight solution allows me to comfortably wear the fanny pack around my waist, ensuring that the tripod remains secure and easily accessible.
With the tripod conveniently positioned, I can quickly grab it whenever I need to capture a shot, eliminating the need to dig through a backpack or shoulder bag.
8.Collapsible Tripod Sticks
When I want to minimize weight and save space, I opt for collapsible tripod sticks that can double as trekking poles. These versatile tools serve a dual purpose, eliminating the need to carry a separate tripod.
I can adjust the tripod sticks to the desired height and securely mount my camera for stable shots. This practical solution is particularly beneficial for hikers who prioritize efficiency and prefer to travel light without compromising on the quality of their photographs.
9.By Hands
When I come across rocky or uneven terrain, I take the tripod off my backpack and hold it in my hand. This way, I can easily maneuver the tripod around obstacles and keep it steady while I’m taking photos.
If possible, carry the tripod in your hand rather than in your backpack, as this will help to keep it from bouncing around and getting damaged.
Get creative! If all else fails, get creative with how you carry your tripod.
Why Multi Tool Is Important In Hiking | You Should Buy One Or Not?
Why To Use A Tripod While Hiking?
If you’re an avid hiker, you know that a tripod can be a helpful tool to have on the trail.
A tripod helps you capture better photos, get a steadier shot while filming, and can even be used as a makeshift walking stick in a pinch.
It is a lifesaver while hiking, providing stability and support when taking photos or videos. Here are some benefits of having a tripod while hiking:
It will will keep your camera steady while you capture beautiful scenery, ensuring clear and sharp images or videos.
A tripod can be used to help set up a time-lapse of your hike, allowing you to later relive the experience and share it with others.
If you’re shooting in low light conditions, a tripod will help prevent blurry photos or videos.
Hiking with a tripod can be a great way to meet other photographers and videographers on the trail – many people are happy to help out with taking photos or videos if you need an extra hand.
Can You Bike On Hiking Trails – Is It Safe & Acceptable
Final Thoughts
In my personal experience, carrying a tripod while hiking has been both rewarding and challenging. It has allowed me to capture breathtaking photographs with enhanced stability and clarity. However, the added weight and bulkiness made the hike more physically demanding.
It required careful planning and consideration of the terrain and weather conditions. Ultimately, it’s a decision that depends on your passion for photography and willingness to put in the extra effort.

Can You Die While Hiking? Must Read It For Survival

Lost in the Wilderness : What To Do If You Get Lost While Hiking

Is It Safe To Hike The Appalachian Trail Alone?
About Author
SYED ARSLAN
As a passionate hiker and camper, I explore the great outdoors and share my experiences on this blog. From trail guides to gear reviews, I provide valuable insights to fellow nature enthusiasts.